 blog
blog
Sinkhole Repair Alternatives to Full Excavation
Table of Contents
- Why Full Excavation Is Not Always the Answer
- Polyurethane Injection for Soil Stabilization: How It Works
- Grouting and Flowable Fill as Sinkhole Repair Alternatives
- Aggregate Filters, Geotextile Fabric, and Drainage Management
- Cost of Sinkhole Remediation Methods: Excavation vs. Alternatives
- Sinkhole Remediation Timeline: What to Expect
- DIY vs. Professional Sinkhole Repair: Where to Draw the Line
- Frequently Asked Questions
Last Updated: September 13, 2026
Why Full Excavation Is Not Always the Answer
Full excavation is not always the answer to sinkhole repair: digging out and replacing soil costs more, takes longer, and disrupts a property far more than targeted stabilization. For many sites, non-excavation alternatives restore subsurface stability with less disturbance and less risk to nearby structures.
We see this constantly across the state's karst geology, where limestone dissolves and leaves voids beneath the surface (Karst Aquifers). Homeowners often assume the only fix is to dig everything out, an assumption that drives unnecessary expense and damage.
The alternatives range from polyurethane injection to grouting, flowable fill, and drainage correction. Each works best in specific conditions. Below: how each works, what it costs relative to excavation, and where the DIY line sits.
Polyurethane Injection for Soil Stabilization: How It Works
Polyurethane injection for soil stabilization pumps expanding structural resin into voids and loose soil, where it cures, compacts surrounding material, and lifts settled structures back toward grade, restoring load-bearing capacity without removing soil.
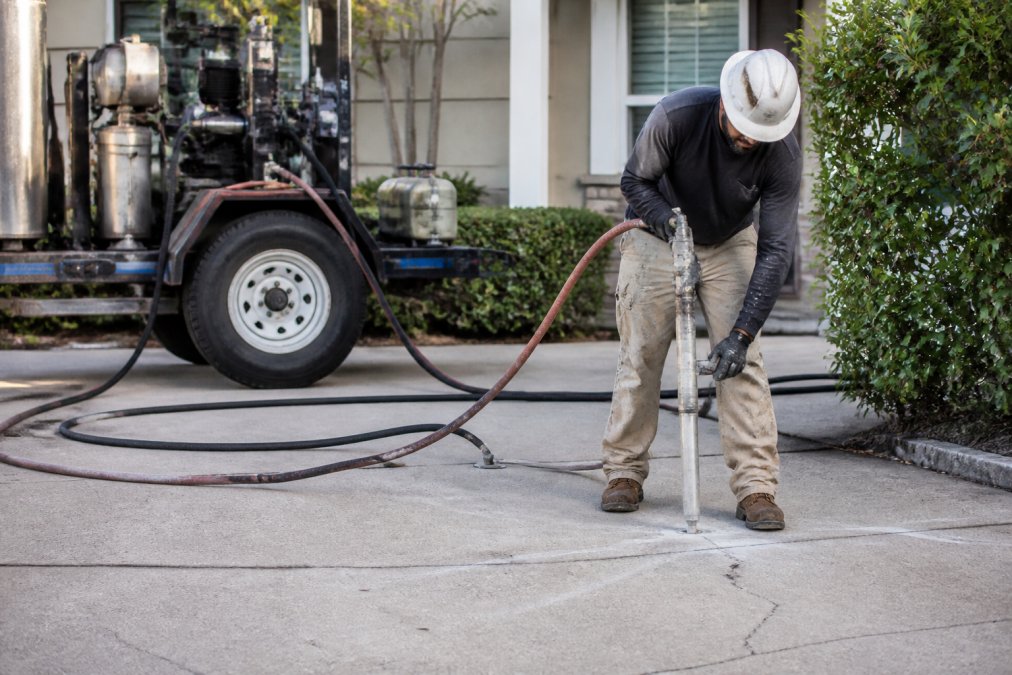
The method suits sites where the void is accessible from above and the surrounding soil can accept the resin. It is not universal: if the cavity is too large or connects to an active solution pipe, injection alone may not hold.
Step-by-Step: What Happens During Injection
- Site inspection and probing. A technician maps the depression, probes the soil, and identifies void boundaries.
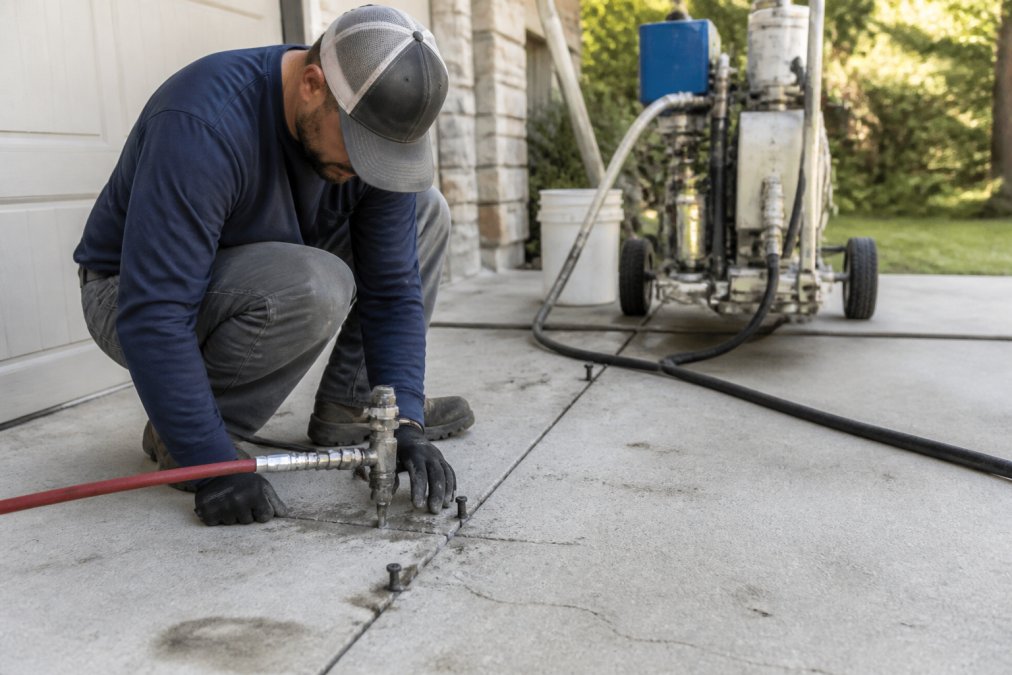
- Injection point layout. Small ports are drilled through the slab or surface at set intervals, typically no wider than a coin.
- Resin injection. Structural polyurethane is pumped in stages, expanding to fill voids and densify loose soil.
- Lift monitoring. Laser levels track movement as the slab rises back toward its original elevation.
- Curing and verification. The resin sets within minutes; the crew confirms stability and backfills the ports.
Setup typically takes a few hours for a residential slab.
Grouting and Flowable Fill as Sinkhole Repair Alternatives
Grouting and flowable fill are the two most common sinkhole repair alternatives to excavation. Grouting injects a cementitious or chemical mix under pressure to fill cracks and cavities. Flowable fill is a low-strength, self-leveling cementitious material poured into larger voids.
Grouting works well for fractured limestone and smaller voids where the mix can penetrate cracks. Chemical grouts set quickly and tolerate wet conditions, but some introduce compounds into groundwater that warrant review near wells or sensitive aquifers (the EPA).
Flowable fill, or controlled low-strength material, fills larger cavities and abandoned utility trenches. It flows into place without compaction, saving labor but limiting where it can be used.
Flowable Fill vs. Concrete for Void Filling
| Property | Flowable Fill | Structural Concrete |
|---|---|---|
| Strength | Low, re-excavatable | High, load-bearing |
| Placement | Self-leveling, no compaction | Requires vibration and finishing |
| Best for | Large voids, trench backfill | Structural footings, columns |
| Cost driver | Mix design and volume | Mix design, rebar, labor |
| Permeability | Adjustable | Low |
Concrete is the wrong choice for most void filling: too stiff, too strong, and too expensive for cavities that only need filling and stabilization.
Aggregate Filters, Geotextile Fabric, and Drainage Management
Aggregate filters, geotextile fabric, and drainage management work together to stop the soil erosion that feeds sinkhole growth. An aggregate filter is a graded layer of stone sized so water passes through while soil particles are held in place. Geotextile fabric keeps fine soil from migrating into the stone and clogging it. Drainage management routes collected water to a safe outlet so it never re-enters the void.
Get any one wrong and the repair fails. The most common failure is a fabric-only repair: fabric laid over a depression with no graded stone above it. Water finds a path around the fabric edge, soil keeps washing out, and the depression returns within a season or two.
How an Aggregate Filter Is Actually Sized
A filter is not just "gravel." It is graded so the voids between stone particles are small enough to hold surrounding soil but large enough to pass water. Designers work from two rules:
- Retention: the filter's finer fraction must be small enough relative to the protected soil that soil particles bridge at the interface instead of washing through.
- Permeability: the filter must pass water at least as fast as the soil it protects, or hydrostatic pressure builds behind it.
A typical sinkhole filter uses washed, angular stone in a graduated stack, finer against the soil, coarser toward the drain. Washed stone matters because fines left in unwashed aggregate defeat the filter's purpose.
Geotextile Fabric: What the Specs Mean
Geotextiles are classified by strength, water-flow rate, and pore size. For sinkhole and erosion-control work, the relevant properties are:
- Apparent opening size (AOS): the pore size that determines what soil can pass. Too large and fines migrate through; too small and the fabric blinds off and stops draining.
- Permittivity: how fast water moves through the fabric. It must exceed the flow rate of the soil being protected.
- Tensile strength and puncture resistance: the fabric has to survive installation over rough subgrade and stone without tearing.
A common mistake is buying the cheapest landscape fabric at a home center. Those products are not engineered for filtration under load and typically fail within a few wet seasons. Specify a nonwoven geotextile rated for filtration and separation, not a woven weed barrier.
The Correct Construction Sequence
- Prepare the subgrade. Remove loose, saturated, or organic material. The fabric must sit on stable soil, not on the material that is actively eroding.
- Place the geotextile. Overlap adjacent rolls per the manufacturer's recommendation, and extend the fabric well past the edges of the void so water cannot slip around it.
- Build the aggregate filter. Place washed stone in graduated layers, finer against the soil and coarser toward the outlet. Compact in lifts where the design calls for it.
- Tie into a drainage outlet. Connect the filter assembly to a pipe or channel that discharges water away from the structure and off the slope.
- Verify flow. Before backfill, confirm water actually moves through the assembly and out the outlet. A filter that ponds is a filter that will fail.
Drainage Management: The Step Most Homeowners Skip
If surface water still pools near the depression after the repair, the repair will fail no matter how well the filter was built. Hydrostatic pressure from trapped water is a leading cause of repeat subsidence (Aquifer compaction and land subsidence).
The practical steps are unglamorous but effective:
- Regrade the surface so water sheds away from the foundation instead of toward it.
- Extend downspouts and sump discharges well past the foundation, a few feet is not enough in most soils.
- Route collected water to a daylight outlet or a dry well sized for the roof and surface area draining to it.
- Keep gutters and buried drain lines clear. A clogged outlet turns a working system into a pressure vessel.
How This Fits With Non-Excavation Repair
Aggregate filters and drainage correction are not a substitute for injection or grouting when a void already exists under a structure. They are what you build around and after the structural repair, to keep water from re-opening the void. Treat the injection as the fix and the drainage as the insurance policy, skipping drainage is the most common reason a non-excavation repair comes back.
Cost of Sinkhole Remediation Methods: Excavation vs. Alternatives
The cost of sinkhole remediation methods depends on void size, depth, access, and how much soil must be replaced. Excavation typically costs the most because it involves heavy equipment, soil hauling, backfill, compaction in lifts, and site restoration. Injection and grouting usually cost less because they avoid removal and replacement.
A cost-benefit comparison rarely favors excavation when the void is deep or the structure sits above it. Excavation means removing the very soil holding the structure up, then rebuilding it under controlled conditions, expensive and slow. Injection and grouting treat the soil in place, which is faster and less disruptive.
Schedule Structural Evaluation →
That said, alternatives are not always cheaper. If the void is shallow and near the surface, excavation can be straightforward and cost-competitive. If the cavity is enormous, injection volumes climb and the advantage narrows.
Pricing depends on site conditions, and we quote each project individually. Florida Foundation Repair provides a free emergency structural evaluation so homeowners get a real number instead of a guess. For current pricing, request a quote through our site.
| Method | Typical Disruption | Best For | Main Limitation |
|---|---|---|---|
| Excavation | High | Shallow, accessible voids | Cost, structural risk |
| Polyurethane injection | Low | Slab voids, settlement lift | Large open cavities |
| Grouting | Moderate | Fractured rock, cracks | Groundwater concerns |
| Flowable fill | Moderate | Large voids, trenches | Low strength only |
| Drainage correction | Low | Water-driven erosion | Not a void filler |
Sinkhole Remediation Timeline: What to Expect
A sinkhole remediation timeline usually runs from a single day for injection work to several weeks for major excavation, depending on the method, local permitting, and how much soil movement has already occurred. But the timeline is only half the story, the other half is what happens after the crew leaves.
Typical Timelines by Method
- Polyurethane injection: a few hours to one day for a residential slab, including inspection, injection, and verification. The resin cures within minutes.
- Grouting: one to several days, because crews work in stages and monitor pressure between passes. Each pass has to set before the next one starts.
- Flowable fill: one to several days depending on volume and access. The material has to cure to its design strength before it is loaded.
- Drainage correction: a day or two for regrading, downspout extensions, and outlet installation, assuming no buried line replacement is needed.
- Full excavation: often several weeks once you account for equipment mobilization, soil disposal, backfill placed and compacted in lifts, and site restoration.
Permitting adds time in most jurisdictions; many areas require a geotechnical assessment and a licensed contractor before work begins. If an inspection flagged foundation concerns during a purchase, an evaluation can often be scheduled quickly.
The Cost-Benefit Framework Most Guides Skip
Users searching for alternatives to excavation are usually trying to avoid a large bill. The honest answer: non-excavation methods are not automatically cheaper, they are cheaper when site conditions favor them. Here is the framework:
| Factor | Favors Excavation | Favors Non-Excavation |
|---|---|---|
| Void depth | Shallow, near surface | Deep, under a structure |
| Access | Open lot, no structure above | Slab, driveway, or building above |
| Soil condition | Stable surrounding soil | Loose, saturated, or fractured |
| Water table | Well below the void | At or near the void |
| Structural load | None above the repair | Active foundation above |
| Site disruption tolerance | High | Low |
| Long-term monitoring | Easy to inspect | Requires periodic verification |
The pattern is consistent: excavation wins when the void is shallow, accessible, and not under anything you care about. Non-excavation wins when the void is deep, under a structure, or in soil that would collapse if you dug it. When the void is enormous, injection volumes climb and the cost advantage narrows, sometimes until excavation is the more predictable choice.
Long-Term Monitoring: The Part Nobody Talks About
Non-excavation repairs are not "set it and forget it." They stabilize the soil as it sits, so the site still has to be watched, an unmonitored repair can quietly fail.
A practical monitoring routine looks like this:
- Walk the perimeter after every heavy rain season. Look for new depressions, fresh cracks in slabs or walls, and doors or windows that have started sticking.
- Check the drainage outlets. A clogged outlet turns a working system into a pressure vessel. Clear gutters, downspouts, and buried lines before the wet season, not after.
- Re-level the reference points. If the original repair used laser levels or survey markers, re-check them periodically. Movement between checks is the early warning sign.
- Keep the paperwork. The inspection report, the injection log, and the pre-backfill photos are what let a future engineer or buyer understand what was done and when.
Most practitioners recommend professional re-inspection at least annually for the first few years after a non-excavation repair, then less often if the site is stable.
When to Escalate
If monitoring turns up new movement, do not wait. A small depression that reappears after a repair signals that the original diagnosis missed something, an active solution pipe, an uncorrected drainage path, or a void larger than the injection reached. Escalating early is almost always cheaper than waiting for structural damage.
What This Means for Your Decision
The timeline and the cost-benefit framework point the same direction: match the method to the site, not the marketing. Injection and grouting are fast and low-disruption but demand ongoing monitoring. Excavation is slow and disruptive but predictable and easy to inspect afterward. The right answer depends on where the void is, what is above it, and how willing you are to keep an eye on the site for years after the crew leaves.
DIY vs. Professional Sinkhole Repair: Where to Draw the Line
DIY sinkhole repair is appropriate only for cosmetic surface depressions with no structural involvement. Anything involving a void, foundation movement, or water intrusion belongs with a licensed professional.
Here is a simple threshold:
- DIY-appropriate: minor soil settlement in a garden bed, small surface depressions from poor grading, drainage corrections like extending a downspout.
- Professional-required: any depression near a foundation, cracks in slabs or walls, doors or windows that no longer close, visible voids, or water pooling against the structure.
The reason is simple. Sinkhole activity in karst terrain rarely stops on its own. Filling a depression with topsoil hides the symptom while the void keeps growing underneath. By the time the foundation shows visible damage, the repair is more expensive and more invasive.
Florida Foundation Repair is licensed and insured (CGC# 1526152) and works specifically with the state's karst geology. Our non-excavation polyurethane injection restores load-bearing capacity, creates a waterproof barrier, and is backed by a limited lifetime warranty. Other providers may offer similar-sounding services; what matters is whether the method fits your site.
Sinkhole repair decisions get expensive fast when the wrong method is chosen. Excavation has its place, but for most residential and commercial sites, targeted stabilization does the job with less cost and less disruption. Florida Foundation Repair specializes in non-excavation polyurethane injection engineered for karst geology, backed by a limited lifetime warranty and a free emergency structural evaluation. Schedule your structural evaluation and get a repair plan built for your specific site conditions.
Frequently Asked Questions
What are the different methods for repairing sinkholes?
Common sinkhole repair methods include full excavation and backfill, grouting with cement or chemical mixes, polyurethane injection for soil stabilization, and aggregate filter construction with geotextile fabric. Each method suits different conditions. Excavation works for shallow, accessible voids, while injection and grouting reach deeper without digging. A geotechnical assessment determines which sinkhole repair alternative fits your property.
How much does it cost to repair a sinkhole?
The cost of sinkhole remediation methods varies widely based on depth, severity, and access. Full excavation typically costs more because it requires heavy equipment, soil removal, and backfill. Non-excavation alternatives like polyurethane injection often cost less and cause less disruption. For a quote tailored to your property, schedule a structural evaluation with a licensed specialist.
How long do sinkholes take to fix?
The sinkhole remediation timeline depends on the method. Full excavation can take weeks or months due to permitting, digging, and backfill. Polyurethane injection and grouting often finish in one to three days for residential sites. Larger commercial projects may take longer. Your contractor should provide a timeline after a site inspection and geotechnical assessment.
Is polyurethane injection effective for sinkhole remediation?
Polyurethane injection for soil stabilization is effective for many sinkhole and settlement issues, especially where excavation is impractical. The expanding foam fills voids, compacts loose soil, and restores load-bearing capacity. Effectiveness depends on soil conditions and void size, so a professional evaluation is essential before choosing this method.