 how-to
How Messy Is Polyurethane Foundation Injection?
Last Updated: October 22, 2026
Quick Summary
Polyurethane foundation injection is a low-mess repair because the work happens through small ports drilled into the concrete, with no excavation or jackhammering. The injection itself is clean, but drilling dust and foam that pushes out of a crack before it cures are the main mess sources.
- Drilling the injection ports is the biggest dust source of the day.
- Foam can push out of a wet crack face before it sets and is trimmed after curing.
- Tape plastic over anything within about 5 feet of the work area before drilling.
- Cured foam on concrete trims with a putty knife and pops off cleanly.
- Keep the space ventilated for a few hours while the foam finishes curing.
Table of Contents
- How Messy Is Polyurethane Foundation Injection, Really?
- The Polyurethane Foundation Injection Process, Step by Step
- Polyurethane Injection vs. Epoxy Crack Injection: Which Makes More Mess?
- Room-by-Room Protection Checklist Before the Crew Arrives
- Polyurethane Foam Injection Cleanup: What Comes Off and What Stays
- The Disadvantages of Polyurethane Injection You Should Weigh
- Ventilation, Health, and Safe Re-Entry After Injection
- Frequently Asked Questions
How Messy Is Polyurethane Foundation Injection, Really?
Polyurethane foundation injection is a low-mess repair. The work happens through small ports drilled into the concrete, so there is no excavation, no jackhammering, and no torn-up floor.
Most of the mess comes from three things:
- Dust from drilling the injection ports
- Foam that pushes out of a crack before it cures
- Overspray and drips around the work zone
None of it is structural. All of it is manageable.
The U.S. Environmental Protection Agency's indoor air quality guidance is a useful reference for anyone worried about fumes and ventilation during interior work. Below, we break down exactly what happens, room by room, so you know what to expect before a crew arrives.
The Polyurethane Foundation Injection Process, Step by Step
The process starts with mapping the crack and ends with patching two small holes. Here is the sequence, with the mess source at each stage.
- Inspect and map. We trace the crack, note its width and depth, and check for active water. This decides whether the job is a crack injection or a deeper void injection, which changes the mess profile.
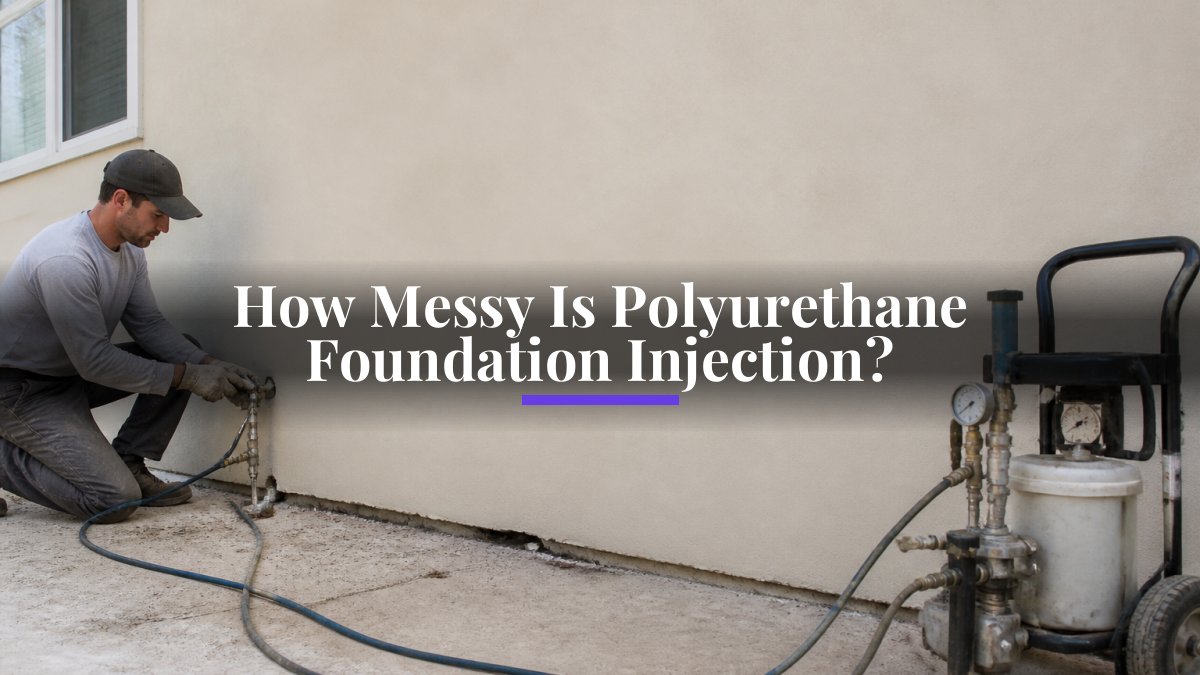
- Drill the ports. Small holes go in at an angle along the crack, spaced a few inches apart. This is the biggest dust source of the day; a rotary hammer throws fine, abrasive dust that settles on every nearby surface.
- Set the packers. Plastic injection ports get seated into each hole. Minimal mess, but packers can weep a little resin once pressure starts.
- Flush and prep. We clear dust and loose material from the crack face. This step can blow dust back into the room if the crack face is not dampened first.
- Inject the resin. Low-pressure pumps push polyurethane foam into the crack until it fills and cures. On a wet crack, foam can push out of the crack face before it sets. On a deep slab or void injection, foam can emerge through nearby gaps, cold joints, or floor drains.
- Pull the ports and patch. The ports come out and the holes get patched with hydraulic cement or a similar filler. Patching is tidy, but it does generate a small amount of dust and crumbs.
The resin is a two-part polyurethane that expands on contact with moisture, sealing the crack and filling voids behind the wall. That expansion is why the mess varies across jobs.
Crack injection versus deep slab or void injection. Most of what homeowners read online describes crack injection: ports along a wall crack, foam contained in the crack, overflow trimmed at the face.
Most of the visible mess in a crack injection is step two.
Polyurethane Injection vs. Epoxy Crack Injection: Which Makes More Mess?
Polyurethane makes more mess than epoxy, but only slightly.
| Factor | Polyurethane Injection | Epoxy Injection |
|---|---|---|
| Best for | Wet cracks, active leaks | Dry, structural cracks |
| Expansion | Foams and expands | Cures rigid, no expansion |
| Overflow risk | Higher, foam pushes out | Lower, stays in the crack |
| Cure speed | Fast, often minutes | Slower |
| Cleanup | Foam trims off once cured | Wipe while wet |
| Mess level | Moderate | Low to moderate |
Polyurethane foam expands as it reacts with water. That is the point. It fills voids and stops leaks.
Epoxy stays put because it does not expand, bonding the crack faces together. On a dry structural crack, epoxy is the cleaner choice.
So the mess question comes down to the crack, not the material. A wet crack means foam overflow.
Room-by-Room Protection Checklist Before the Crew Arrives
Protecting the space before the crew arrives is the biggest thing a homeowner can control. Here is a checklist for homeowners.
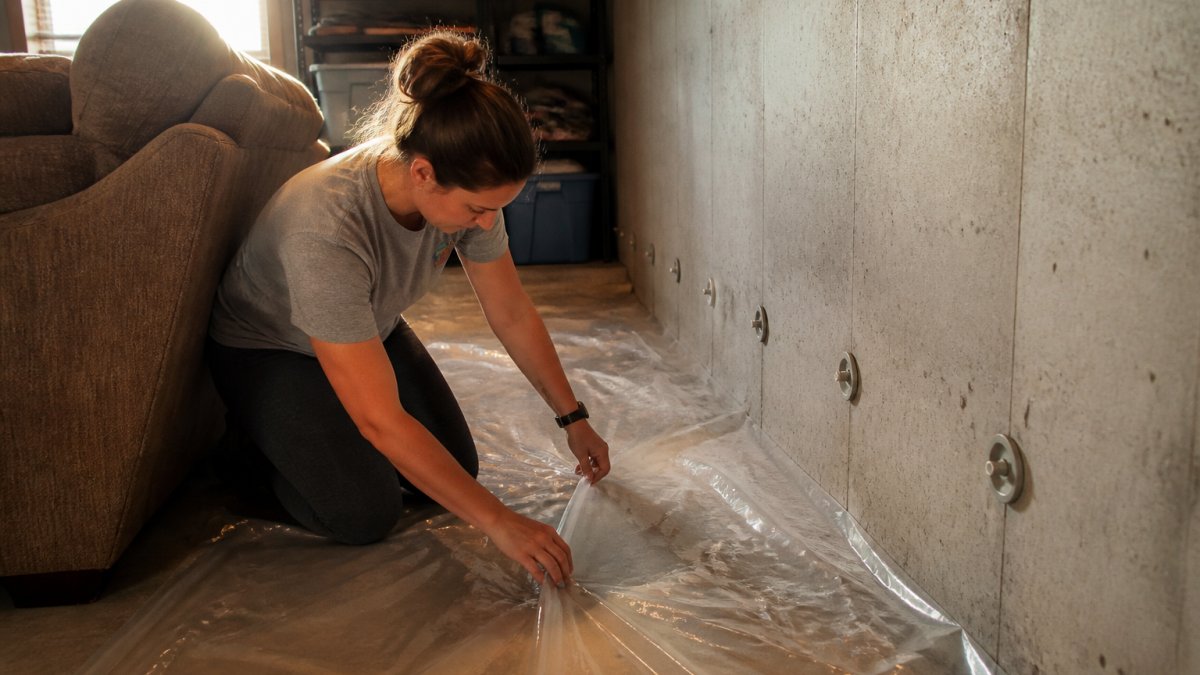
The work room (basement, garage, or crawl space):
- Clear a 1-meter working strip along the cracked wall
- Move stored boxes, shelving, and equipment to the far side
- Roll back rugs and remove floor mats
- Cover finished flooring with plastic sheeting, taped at the edges
- Unplug and move anything electronic away from the wall
Adjacent rooms:
- Close doors and tape the gap under each door
- Cover furniture within 3 meters of the shared wall
- Move pets to another part of the home
Ventilation and access:
- Open a window or run a fan to move air
- Clear a path from the door to the work area
- Confirm where the crew can park and stage equipment
Before they leave:
Schedule Structural Evaluation →
- Ask the crew to bag and remove their own debris
- Confirm the patch work is complete on every port hole
That last item matters. Some crews patch ports as they go. Others come back at the end. Confirm which, so you are not left with open holes.
Polyurethane Foam Injection Cleanup: What Comes Off and What Stays
Polyurethane foam injection cleanup is mostly about timing and surface. Wet foam wipes off.
The real question is how messy the work is inside an occupied home.
Uncured versus cured foam. Uncured polyurethane is tacky and smears; wiping it with a dry cloth pushes it into the surface.
Here is what to expect on each surface:
- Cured foam on concrete: Trim with a putty knife once fully cured. It pops off cleanly.
- Wet foam on plastic sheeting: Wipe immediately, then discard the sheet.
- Concrete dust on hard floors: Vacuum with a shop vac, then damp mop. Two passes are normal because fine dust resettles.
- Dust on painted walls: Wipe with a damp cloth. Avoid scrubbing, which can dull the finish.
- Dust in carpet: Vacuum twice. Fine dust settles back down after the first pass.
- Foam on unfinished wood or porous block: This is the hard one. Cured foam can stain or bond into the pores, and aggressive scraping can gouge the surface.
- Foam on finished trim or painted baseboard: Trim carefully and touch up the paint. Solvent wipes can dull the finish.
Realistic cleanup limits. Most cleanup falls to the crew for their own debris; homeowners usually handle dust that drifts into adjacent rooms.
The Disadvantages of Polyurethane Injection You Should Weigh
The disadvantages of polyurethane injection are real, and we list them because homeowners deserve the full picture. This method is not right for every crack.
- It is not a structural fix for every crack. Polyurethane seals and fills. It does not restore the strength of a badly compromised wall on its own.
- Foam overflow happens. On wet cracks, you will see foam push out. It gets trimmed, but it is part of the job.
- Dust is unavoidable. Drilling concrete makes dust, even with vacuum attachments.
- It hides the problem. Once sealed, you cannot see the crack. That is good for looks, but it means you need to watch for new movement elsewhere.
- It is not a substitute for fixing the water source. If water is coming from poor drainage, sealing the crack does not solve the cause.
The honest summary: polyurethane injection is excellent for stopping leaks and filling voids. It is not a cure-all for a failing foundation.
Ventilation, Health, and Safe Re-Entry After Injection
Ventilation and safe re-entry are what homeowners ask about most.
Here is how to manage it:
- During injection: Run a fan and keep a window or door open to move air through the work area.
- Right after: Keep the space ventilated for a few hours while the foam finishes curing.
- Re-entry: Most spaces are fine to re-enter once the crew confirms the foam has cured and the air smells clear.
- Sensitive occupants: Anyone with breathing concerns, young children, or pets should stay out of the work area until it is fully aired out.
The Occupational Safety and Health Administration's guidance on respiratory protection is a good reference for anyone who wants to understand what crews use to protect themselves during the work.
A common question is whether the smell lingers. In practice, it fades within a day once the space is aired.
Ask the crew before they leave:
- Has all the foam cured?
- How long should we ventilate?
- When is it safe for pets and kids to return?
A messy repair is a small price for a dry basement, but the mess should never be a surprise.
Frequently Asked Questions
What are the disadvantages of polyurethane injection?
Polyurethane injection cannot fix every problem. It works on cracks and voids but will not repair a failing footing, deteriorated rebar, or a wall that has moved out of alignment. The resin is also difficult to remove once cured, so overspray or drips on nearby surfaces need to be wiped up quickly. Some foams expand significantly, which can widen hairline cracks if ports are not spaced correctly. Odor during application bothers sensitive occupants, and a repair that skips proper surface preparation can fail and require a second visit.
How long does cleanup take after polyurethane injection?
Most of the cleanup happens the same day. The crew typically removes ports and trims cured foam flush with the wall within an hour or two of finishing injection, then sweeps and vacuums the work area. Plastic sheeting and drop cloths come down last, usually a 30 to 60 minute job in a single room. Homeowners should plan on a few hours of lingering dust and a final wipe-down of nearby surfaces. Foam that has fully cured on a floor or tool is much harder to remove, which is why protection goes down first.
Does polyurethane foundation injection require drilling?
Yes. Crews drill small holes, usually around 3/8 to 5/8 inch, through the concrete wall or slab so injection ports can be seated. In a basement wall the holes are typically drilled on a slight downward angle along the crack. On a slab, ports go through the floor surface at intervals set by the void size. The holes are patched after injection. Drilling produces concrete dust, which is the main reason plastic sheeting and ventilation matter during the visit.
How long does polyurethane foam injection last?
Cured polyurethane foam is durable and does not shrink or break down the way some soil does. In foundation crack and void filling, a properly installed repair is generally treated as permanent, though no material can stop new movement caused by soil erosion, poor drainage, or changing loads. That is why the injection should be paired with a drainage and grading review. Ask your contractor whether the repair carries a warranty and what conditions it covers before you sign.